Tartelette au Citron

DSC_0271a

Though French recipes for the tarte au citron date back to about 1651, this dessert is actually Mediterranean and probably comes from Italy. There were very few tart fillings in France that consisted of anything other than actual fruit pieces until the lemon tart, and it was via Italy that lemons arrived in Europe from Asia. I’ll stop talking about lemons now but if you ever fancy a lemon festival, there’s a French town close to the border of Italy that holds a famous Fête du Citron annually! This recipe is as easy as it is tasty but is pretty zingy! Make sure to add some sweetened cream or crumbled meringue!

Serves: 4
Ingredients/equipment:

Pâte Sucrée – 120 g softened butter – 80 g icing sugar – 1 vanilla pod – 25 g almond powder – 1 pinch of salt – 1 medium-large egg – 200 g of flour – Spatula – Foil (preferred but not necessary)

Lemon filling – 4 lemons – 120 g of sugar (or more if you can’t handle the sour!) – 2 medium-large eggs – 15 g cornstarch

1. Sift the icing sugar into the softened butter. Add the ground almonds, the vanilla extract and the salt. Combine everything with a spatula and the mixture should eventually become creamy. Add the egg, continue to mix, then proceed to sift in the flour.

2. Continue folding in the flour gently into the dough. Considering this dough contains a higher butter to flour ratio, it’s very important to let it rest for at least 2 hours in the fridge, otherwise it’ll be too difficult to work with. After the dough has rested, you can knead it and roll it out.

3. After this point, you should press the dough into your dish (lining the dish with foil will enable you to ease it out with less difficulty once it’s cooked), prick it with a fork and put it in the fridge half an hour. Preheat your oven to 180 degrees and bake for 15-20 minutes.

DSC_0222a

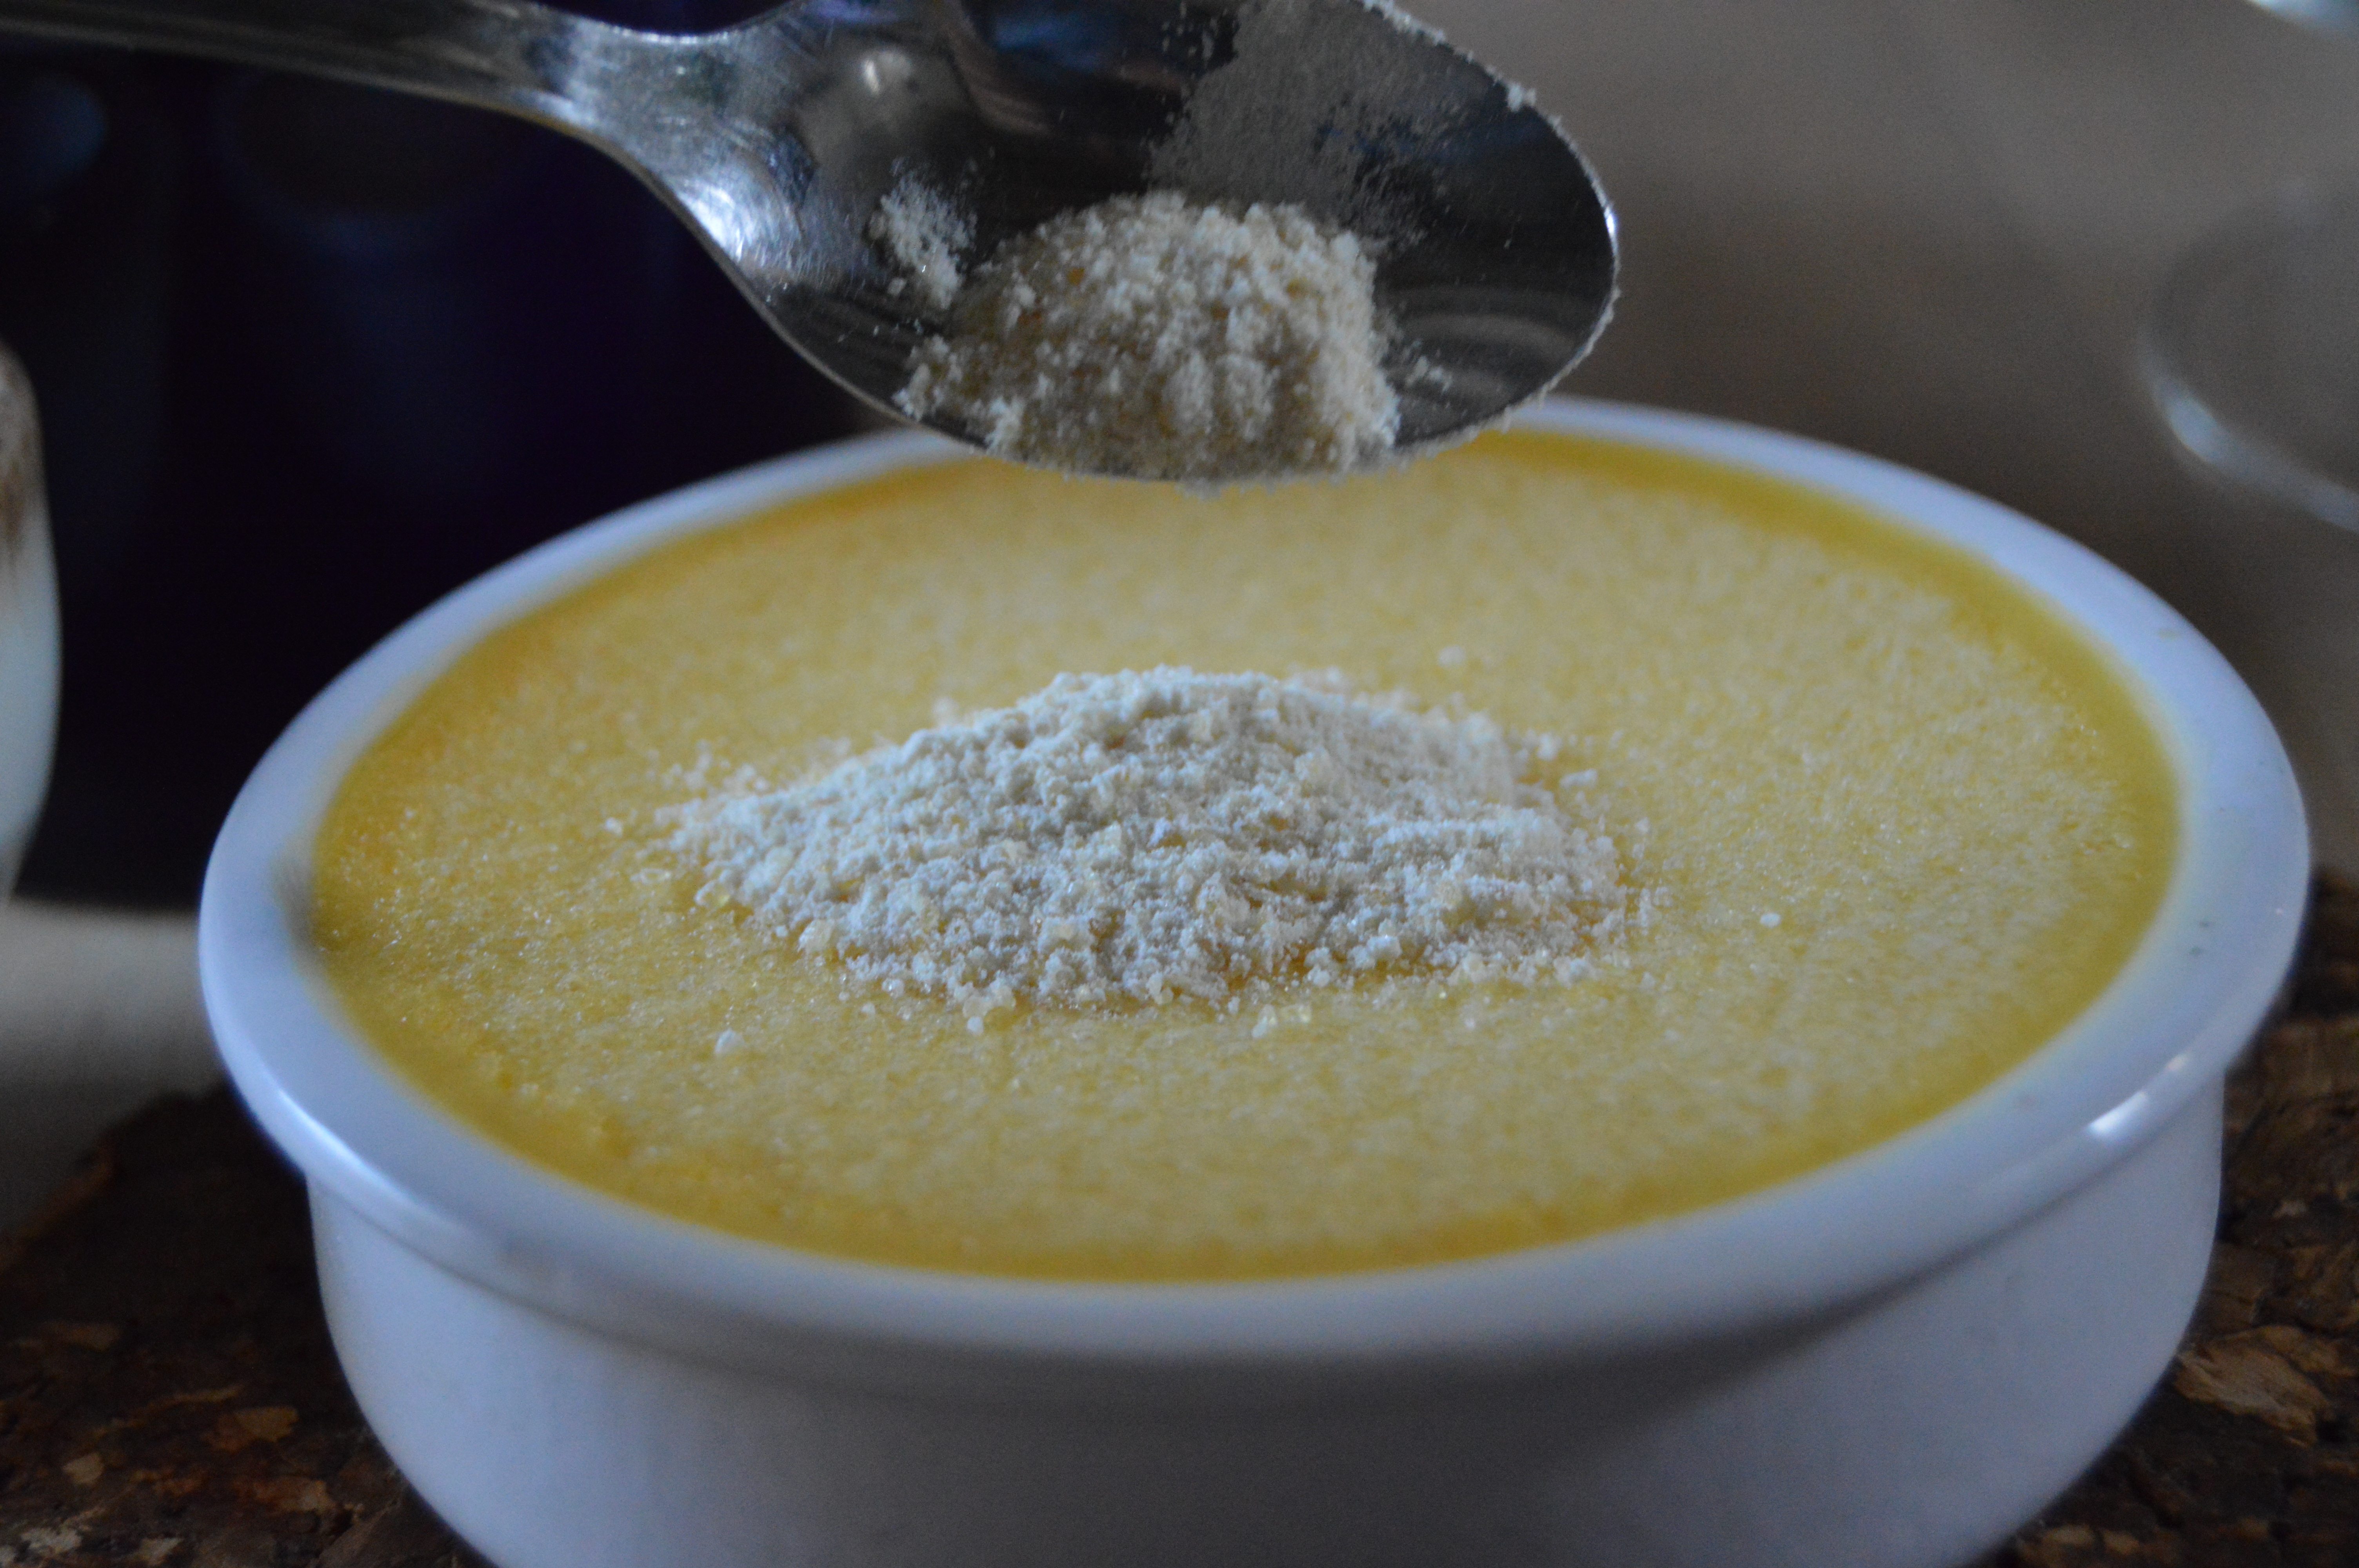
4. While the pie shell is baking, grate the zest of 2 lemons into a saucepan, and mix this with the juice of all four of the pressed lemons along with the sugar. Dissolve the sugar by heating and stirring the mixture. Make sure to keep stirring and then add the cornflour (if you need to then switch to a fork or whisk to keep the mixture smooth).

5. Keep the pan on a low heat. Beat two eggs in a ramekin and temper them slightly before adding them to the saucepan.

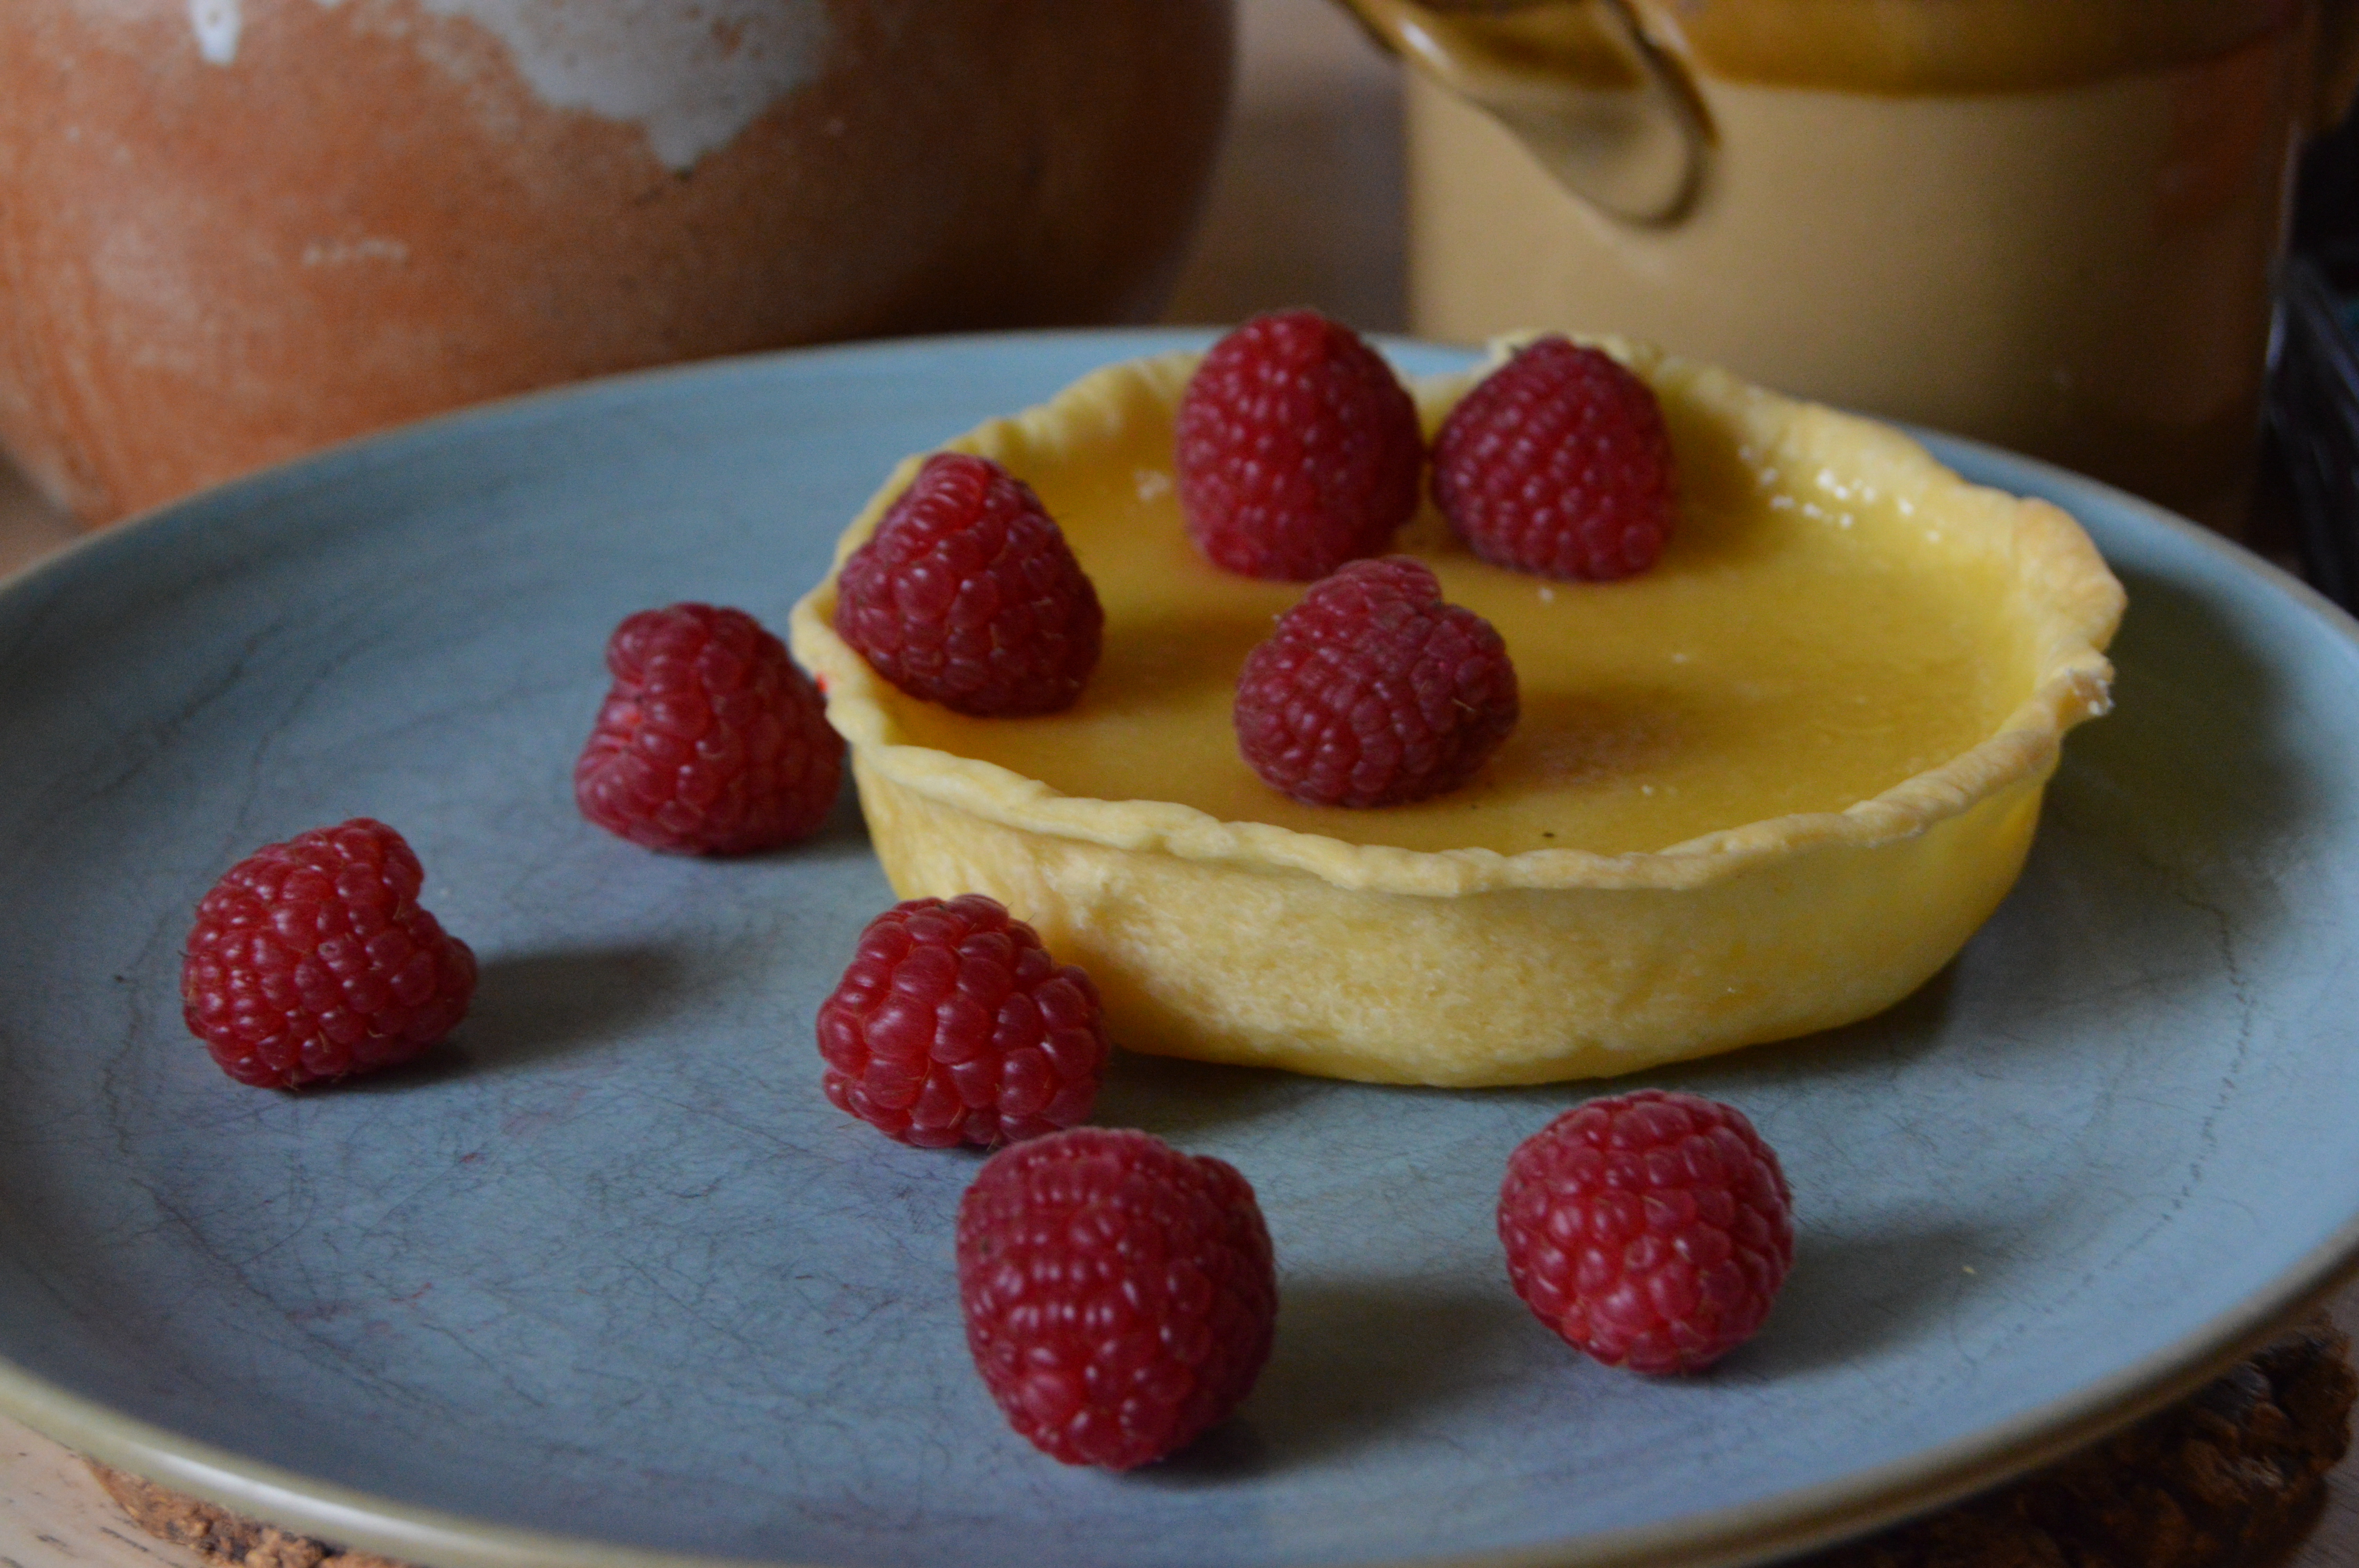
6. Pour the eggs into the lemon juice mixture and continue to stir over a low heat. When the mixture is smooth and thick, stop cooking, pour the filling into the pie shell and leave to refrigerate for another hour or so!

Crème Brûlée

DSC_1194

The birth of the Crème Brûlée came about in the 17th century after the young Duke of Orléans complained one mealtime to his chef, François Massialot, that his cream was cold. The chef applied a hot iron to the cream’s surface, thus caramelising the sugar and the duke liked the dish so much, he asked for it again! My recipe includes instructions for making this dish using a grill, but if you have a blowtorch, even better! Nothing compares with that moment when the sugar crust of a crème brûlée gives way and the recipe’s simple if you follow all the steps, so give it a go!

Serves: 4
 Ingredients/equipment:

– 5 egg yolks
– 180g caster sugar

– 500ml crème fleurette

– 1 vanilla bean

– 4 ramekins or shallow dishes
– Deep metal tray

1. Preheat the oven to 140°c. Put aside a slightly deep metal tray that will be large enough to ft in all four of the ramekins for later.

2. Extract the seeds of one of the vanilla beans by splitting it in two down the middle with a knife and using the knife to scrape them out.  Add the seeds and the bean halves to the crème fleurette and let the mixture simmer gently in a pan on a low heat for about 10 minutes.

DSC_0091

3. In the meanwhile, beat air into the egg yolks and 100g of the caster sugar with a fork until the mixture becomes pale and slightly fluffy. Put the ramekins into the tray and fill the tray with boiling water until it reaches about halfway up the ramekins.

4. Take the pan off the heat, remove the vanilla bean halves and add the egg mixture to the pan, then stir until all the components are evenly distributed.

5. Pour the mixture into the ramekins, making sure they’re filled to the top, and carefully transfer the tray to the oven. Leave the crèmes to cook for one hour (once they’re done, transfer them to the fridge to rest for at least 2-3 hours – don’t worry if they look a bit jiggly as soon as they’re out the oven, that’s normal!)

DSC_1147

6. While they’re cooking, you can prepare the sugar-topping – gently heat the remaining caster sugar until it melts.  As soon as it has all melted, quickly pour it onto a piece of foil. Once it has cooled completely, pop it into a mortar and and use a pestle to crush it into a powder.

7. Remove the first crème from the fridge and quickly sprinkle the sugar-topping onto the top.  The most important thing to do is to do so quickly so that the sugar doesn’t start sinking into the crème, and also to ensure the powder layer is 2-3mm thick at the very most.

DSC_1179

8. Quickly put the ramekin into the grill, making sure it’s as close to the top of the grill as possible. Keep a close eye on the crème, waiting until the surface is bubbling and golden before you take it out. Do this for the remaining ramekins, and leave them to cool a little.

9. Get out your teaspoons, and get cracking!